Introduction
The following is a step-by-step rebuilding the front brakes on your Ford 1994-2004 Crown Victoria and/or Mercury
Grand Marquis. The instructions would probably also be equally applicable to a Lincoln Towncar from the same years
but this has not been verified. This is not a difficult job by any means and most folks with even modest mechanical
ability would pile right in even without instructions. That said, even if you're an accomplished do-it-yourselfer
we have documented the process and some of what you'll find in these instructions might save you some time and
headache. Although not designed to be completely exhaustive in nature (i.e., idiot-proof), anyone with even the
most modest mechanical skills and some relatively common tools should be able to readily accomplish the procedure
described. That said, your brakes are a critical componenet of keeping your car safe and roadworthy. If you read
through the described procedure before beginning and get concerned about your skills to accomplish the task then
take your car to a reputable repair shop (if you can find one) and have them rebuild your front brakes. If you
do decide to take on this procedure yourself please drop us a line and give us some
feedback on the content of this site. We're always trying to improve our content and we love
getting feedback from fellow Do-It-Yourselfers
|
|
|
Getting Started
Rebuilding your front brakes usually involves two basic brake components; the front brake pads and the brake rotors.
The brake pads become worn through normal use. Since the brake pads "grip" the brake rotors to stop your car the
rotors wear right along with the pads. Anytime your replace the front pads you also need to have the rotors
resurfaced (turned) or replace them altogether if they are too worn (too thin) to be resurfaced. Don't ever replace
your brake pads without resurfacing or replacing the rotors as well. These two components are designed to "wear" and
break-in as a pair and you will shorten the life of both if you replace one and not the other; not to mention your
brakes won't perform as they should. If you try to go the cheap-O route and just replace one we'd question your
manhood and call you names behind your back.
The design of the front brakes on these cars makes brake rebuild quite simple. The front rotors are designed to
be easily removed/replaced and are a seperate from the front hub/bearing assembly. These instructions that follow will
show you how to remove/replace the front brake pads and install new rotors. Let's get started...
|
Tools & Supplies
This is one of the simplest procedures on Autoclinix and it does not require many tools.
Although the list is short, if you the necessary tools at your side when you need them
it will save you some time. As with any repair in which you need to get under the vehicle,
use a good quality jack and jackstands. NEVER work under a car without a jackstand to
support the car in addition to the floor jack / bottle jack. An investment in a good floorjack and set of
jackstands is an investment that will keep you safe and prove useful for all sorts of repairs.
Tools & Supplies You'll Need...
- Floor jack or bottle jack and a jackstand.
- 3/8" or 1/2" drive ratchet
- 18mm socket
- Lugwrench
- Brake spreader OR large C-clamp
- Chisel (optional)
|
|
|
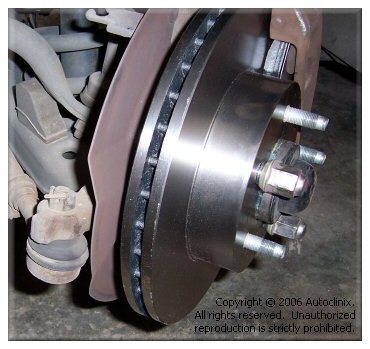
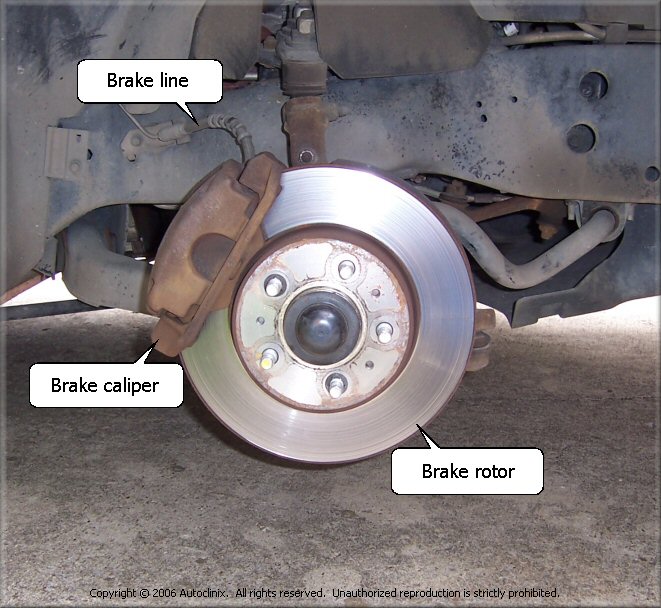
Looking Inside...
The picture below shows the "before" picture of our test car's front brakes. Some of the basic brake
components are labeled.
|
|
|

Back to Autoclinix.com
|

Next
|
Copyright © 2007-2016 by AutoClinix. All rights reserved. Unauthorized duplication in whole or in part is strictly prohibited.
|