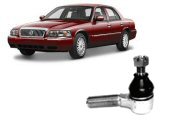
|
Removal and Replacement Instructions
(steps 11-20 of 20)
- After assembling the inner and outer tie rods into the adjusting sleeve, install the grease fittings into
the tie rod ends. These small fittings are easy to cross-thread so take your time and make sure they are
screwed in straight and securely.
- Next, using a grease gun and some high-quality grease, grease the inner and outer tie rod ends via the grease
fittings you just installed. If you used OEM / Ford tie rods then they may not have come with grease
fittings (or provisions for even installing grease fittings) and are designed to be "permanently" lubed from the
factory (and thus you can skip this step). If your tie rod ends DO have grease fittings then you need to grease
them. If you don't have a grease gun you can have this done when you have the front end aligned but it's not
a good idea to drive around with your tie rods un-greased. There may be *some* grease in them when new but it's
not enough and driving around too much on dry tie rods will ruin them or at least shorten their life.
- Once you have completed the assembly of the new tie rod, insert the inner tie rod end into the center/steering link
and re-install the crown nut and tighten. The inner tie rod end goes into the center/steering link from the rear
(threaded shaft of the tie rod end pointing toward the front of the car). Be sure and tighten the crown nut
securely as the tapered shaft of the tie rod end needs to be securely "pulled" into the hole on the center/steering
link. Once securely tightened, install a new cotter pin and bend the leads around the crown nut to keep the
cotter pin securely in place.
- Repeat step (13) for the outer tie rod end by inserting the outer tie rod end up into the spindle.
Tighten the crown nut securely as the tapered shaft of the tie rod end needs to be securely "pulled" into the
hole in the bottom of the spindle. Once securely tightened, install a new cotter pin and bend the leads
around the crown nut to keep the cotter pin securely in place.
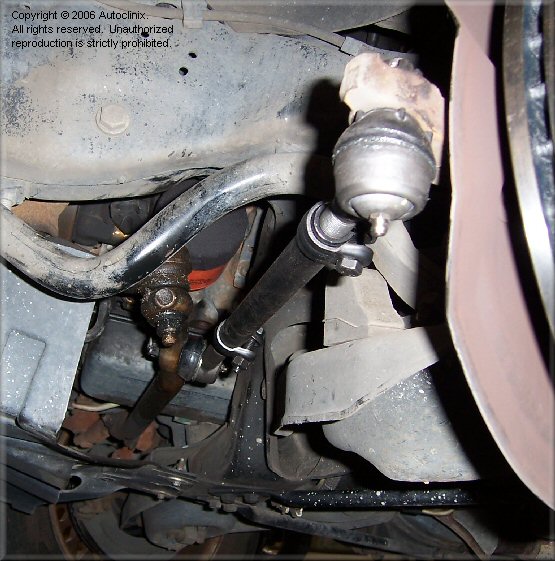
- Now that tie rod ends are installed and securely tightened, you can securely tighten the clamps on the
adjusting sleeve. It's a good idea to orient the clamps where the bolts/nuts on the adjusting sleeves are accessible
so that the service technician will have an easier time getting at them when you take your in car for it's
front-end alignment.
- It's time to wrap-up this side of the car. Jack up the car slightly and remove the jack-stand (you did use
a jack-stand right?). Re-install the wheel and partially tighten the lugnuts.
- Lower the jack to allow the front wheel to come in contact with the ground but do not lower the car completely.
- Tighten all lugs nuts using an alternating (star) pattern.
- Lower the car and remove the floor jack.
- Repeat the process for the other side of the car. Once completed, TAKE YOUR CAR IN FOR A FRONT END ALIGNMENT.
We took care to make the new tie rods close to the same length as the old tie rods but anytime you change tie rods (or ball
joints, control arm bushings, etc.) you need to have the front end re-aligned. Failure to check the front end
alignment can cause the car to vibrate, pull to one side and can cause premature/excessive tire wear. Don't be a
dufus and skip this step. Your Momma taught you better. If you have any problems or run into any issues please
refer to the Troubleshooting section for this repair.
Congratulations! You just replaced your tie rods and saved yourself some money (and gained the satisfaction
of doing it yourself). After your wash your hands and drink an adult beverage please drop us a line and give us some
feedback on the content of this site. We're always trying to improve our content and we love
getting feedback from fellow Do-It-Yourselfers
|